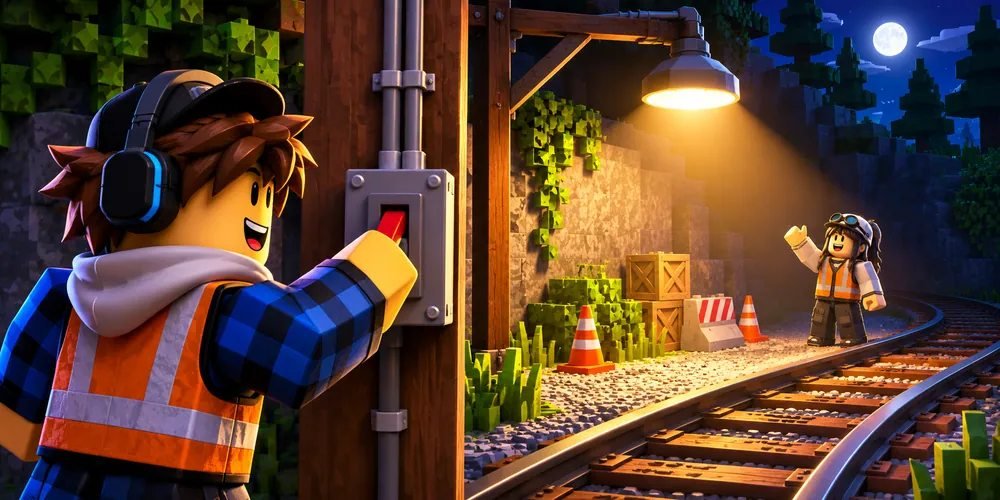
How to build a checkpoint beacon in Roblox Studio
Build a roadside checkpoint that riders can activate during practice. Follow one marker from placement through testing the flash from both directions.

Place the marker beside the driving line
Put an anchored Part just outside the path of the vehicle. Leave space for a player to approach on foot without standing in traffic. Choose a starting color that contrasts with green. Test the gate from both approaches so riders can see the signal before passing the marker.
Install the interaction
Open Checkpoint Beacon from the link below. Expand the Luau source and copy it into a server Script directly under your Part. Start a play session so the Script can create its prompt. Use a fresh Part for the first test to avoid overlapping prompts.
Test from a second player’s viewpoint
The gate turns mint green, then returns to its original color. A second activation has to wait until the first flash ends. Have one player operate the prompt while another watches from the far side of the turn. Then swap places. If neither sees a prompt, check the Script’s parent and move within activation distance.
Open Checkpoint Beacon and view the Luau source
Questions and answers
Can another player see the change?
Yes. The Script changes an object in Workspace on the server, so the effect is shared.
How should I position the Part?
Choose a starting color that contrasts with green. Test the gate from both approaches so riders can see the signal before passing the marker.